


Views: 0 Author: Site Editor Publish Time: 2026-08-14 Origin: Site


Working with high-quality resins yields premium, glass-like finishes. However, the margin for error during mixing and pouring remains notoriously slim. Beginners often experience wasted materials and failed cures. Tackiness and micro-bubbles rarely result from a lack of artistic skill. Instead, they usually stem from poor environmental control. They also result from improper product selection. We must address these root causes directly to avoid ruined projects.
A successful project demands strict adherence to specific chemical parameters. You need highly precise measurement tools to start. You must also maintain controlled environmental conditions throughout the entire curing process. Furthermore, selecting the correct viscosity for your intended application is crucial. Mastering these foundational elements separates amateur results from professional-grade masterpieces. You will learn the exact process to evaluate your workspace. We will explore how to mix materials flawlessly and troubleshoot common chemical failures.
Precision is non-negotiable: Deviating from the manufacturer's exact A:B mixing ratio is the primary cause of curing failures.
Environment dictates outcomes: Temperature and ambient humidity drastically impact working time (pot life) and final clarity.
Safety requires compliance: Proper PPE (nitrile gloves, VOC-rated respirators) and ventilation are mandatory, not optional.
Viscosity matters: Thin-pour and deep-pour acrylic resins are engineered for different applications; they are not interchangeable.
Before investing in expensive materials, you must evaluate your workspace. Assess if the room can sustain the rigid environmental conditions required for curing. Most chemical reactions require ambient temperatures between 70-80°F (21-27°C). You also need low humidity levels. Moisture in the air interacts poorly during the hardening phase. High humidity often leads to surface cloudiness. If you work in a cold garage, you must introduce space heaters. You might also need a dehumidifier to stabilize the room before opening any bottles.
Having the right tools prevents frantic mistakes once the chemical reaction begins. Gather these items before starting your project.
Accurate Measurement: Use graduated mixing cups and digital scales. You must distinguish between measuring by volume versus measuring by weight. Manufacturers will specify which method their product requires.
Mixing Implements: Always choose silicone stir sticks. Wooden sticks are porous. They hold trapped air and moisture. Stirring introduces these unwanted elements into your mixture.
Bubble Eradication: Keep a heat gun or butane torch nearby. Never use a hair dryer. Hair dryers blow dust directly into your wet surface.
Safety Gear (Compliance): Wear durable nitrile gloves and safety glasses. You must also wear a respirator mask rated specifically for organic vapors. Proper ventilation keeps dangerous volatile organic compounds (VOCs) out of your lungs.
Failing to level your work surface beforehand guarantees uneven pooling. Fluid dynamics cause the mixture to run off slanted edges. This drains material from higher spots and wastes expensive liquid. Always use a standard bubble level on your canvas or mold table before mixing. Adjust the table legs or place shims under your project board.
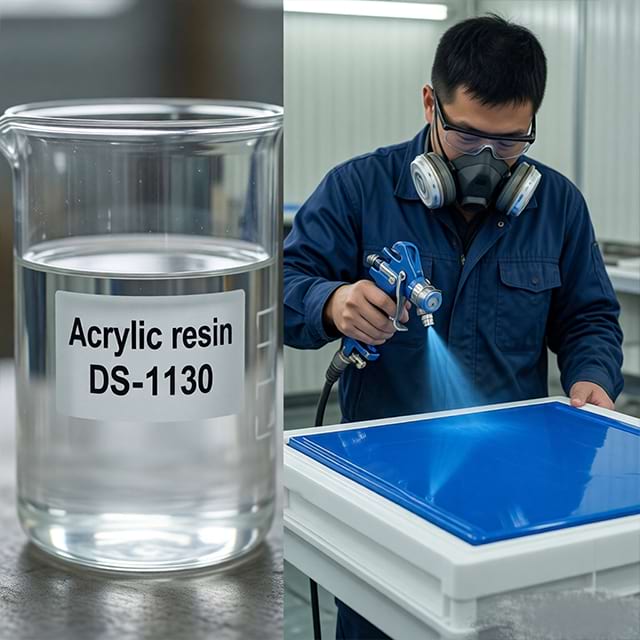
This process dictates the success of your entire project. Using Acrylic Resin requires methodical execution. Treat these steps as a strict laboratory procedure rather than a flexible art technique.
Verify the manufacturer’s specific ratio on the bottle. Common formulas use a 1:1 or 2:1 ratio. Read the instructions to confirm if this ratio is by volume or weight. Many beginners make critical errors here. Adding extra hardener will not speed up the cure time. Instead, it ruins the delicate chemical reaction. Excess hardener leaves the final product a sticky, unusable mess. Measure each part into separate, clean cups first.
Improper mixing causes the vast majority of soft spots. Industry standards highly recommend the two-stage mixing method. This prevents unmixed streaks from ruining your piece.
Pour the measured hardener into the primary mixture cup.
Mix the contents slowly for three to five minutes.
Scrape the sides and bottom of the cup continuously while stirring.
Transfer the entire mixture to a second, completely clean cup.
Stir the transferred liquid for one additional minute.
Pour the mixture immediately after finishing your two-stage stir. Leaving the liquid in the cup accelerates the heat reaction. Pouring maximizes your workable pot life. You generally have a 30 to 45-minute window before the liquid turns gummy. Pour directly into the center of your mold or canvas. Use a plastic spreader to guide the liquid outward. You can also use a gloved hand to push the fluid gently to the edges. Do not overwork it. Let gravity assist the leveling process.
Micro-bubbles naturally form during the stirring phase. You must remove them quickly. Sweep a heat gun or butane torch two to four inches above the wet surface. Heat temporarily thins the liquid. This drop in viscosity allows trapped air to rise rapidly and pop. Keep the heat source moving constantly. Do not hold the torch in one place. Stagnant heat will scorch the surface and create permanent ripples.
Once you remove the bubbles, protect your project. Airborne dust and pet hair will ruin the smooth finish. Cover the piece immediately using a plastic dust tent or a large cardboard box. You must understand the timeline for hardening. The surface becomes "touch dry" usually within 24 hours. However, it is not "fully cured." A complete chemical cure takes up to 72 hours or more depending on the formula. Do not place heavy objects on the surface until it achieves a full cure.
Even seasoned professionals encounter unexpected chemical reaction issues. Environmental shifts or a minor measurement slip can cause defects. You must know how to diagnose and mitigate them effectively.
Diagnostic Guide for Common Resin Failures
Failure Type | Primary Cause | Recommended Fix |
|---|---|---|
Soft, Sticky, or Tacky Spots | Inaccurate measuring ratios or insufficient scraping during the mixing phase. | Scrape off the sticky material completely. Pouring over it will not cure the underlying issue. |
Cloudiness or Amine Blush | High ambient room humidity or moisture introduced via wooden stir sticks. | Sand down the cured cloudy layer. Apply a fresh, thin topcoat in a climate-controlled room. |
Flash Curing (Exothermic Reaction) | Mixing too large a batch or leaving mixed liquid in the cup too long. | Mix smaller batches. Pour immediately after stirring. Respect volume limits on the TDS. |
Soft and tacky spots require aggressive intervention. You cannot simply pour a fresh coat over a sticky area. The wet layer underneath will remain unstable. You must scrape the uncured sludge away completely. Use isopropyl alcohol to clean the exposed area. Once dry, you can pour a replacement layer.
Cloudiness often manifests as a greasy film called amine blush. Humidity causes this surface defect. Sanding the compromised layer removes the blush. You must move your project to a drier room before attempting a repair pour. Flash curing presents a physical danger. The chemical reaction generates massive heat. A smoking cup means the batch is ruined. Always respect the maximum pouring depth stated on the technical data sheet (TDS).
Exploring how fluid mediums interact opens new artistic avenues. Mixing paints requires understanding fluid dynamics. Different pigment densities react uniquely when combined.
Artists highly value the cellular, web-like lacing effect in ocean art. You achieve this by manipulating fluid densities. Mix white acrylic paint or a specialized pigment paste directly into a small cup of clear mixture. Pour this white line over a previously poured bed of clear or blue tinted liquid. Use a heat gun on a low airflow setting. Angle the gun to push the white liquid over the blue layer. The heavier white pigment sinks slightly and separates. This physical separation creates stunning cellular laces resembling crashing waves.
Many artists seal their dried canvas pours to add a glass-like sheen. You must prepare the existing painting meticulously. Liquid pour artists frequently use silicone oils to create cells in their paint. Silicone strongly repels topcoats. If you pour directly over residual silicone, the liquid will separate into massive craters. You must clean the dried painting first. Wipe the surface gently using isopropyl alcohol or a mild degreasing soap. Ensure the canvas dries completely before applying your topcoat. Any trapped water will cause clouding.
You must select the correct product format before clicking purchase. Buying the wrong formula guarantees project failure regardless of your skill level. Evaluate your project needs against these primary dimensions.
Formulas vary wildly in thickness. Low viscosity fluids are incredibly thin, much like water. They are engineered for deep pours, casting objects, and filling silicone molds. The thin consistency releases bubbles easily. However, low viscosity formulas require significantly longer cure times. High viscosity formulas are thick, similar to cold honey. They are best suited for doming, thin topcoats, and geode art. Thick formulas hold lines well and prevent colors from bleeding together. They offer a much shorter working time before hardening.
Ultraviolet light degrades chemical structures over time. Evaluate product specifications for HALS (Hindered Amine Light Stabilizers). We must acknowledge transparently that all clear epoxies and resins eventually yellow. Sunlight accelerates this degradation. However, premium UV-resistant formulas delay this yellowing process significantly. If your finished piece will sit near a sunny window, investing in advanced UV protection is mandatory.
Audit your project depth before buying. Measure how thick your final layer needs to be. Next, evaluate the UV exposure your piece will endure. Match these specific requirements against product specification sheets. If you are casting a two-inch thick river table, a deep-pour formula is your only option. If you are coating a flat canvas, buy a high-viscosity doming formula.
Successful application relies on science long before it becomes an art form. Chemical parameters dictate your final results. You must respect temperature limits, mixing ratios, and working times to avoid failure. Investing in precise measuring tools eliminates the most common diagnostic errors. High-quality silicone sticks and digital scales easily pay for themselves by saving wasted material. Selecting application-specific formulas mitigates the highest risks of clouding or flash curing. Review your project scope today. Browse specific, vetted kits tailored for either thin coating or deep casting to ensure a flawless, professional finish.
A: Yes, you can pour it directly over painted surfaces. However, the underlying paint must be completely dry. You also need to ensure the surface remains totally free of silicone oils or grease. Clean the painted surface lightly with isopropyl alcohol before starting your pour.
A: Working time, also called pot life, is your active window to pour and manipulate the liquid before it thickens. Cure time is the complete chemical hardening process. A piece might be touch-dry in 24 hours but needs 72 hours to achieve full structural cure.
A: Use generous amounts of isopropyl alcohol or acetone on your tools and work surfaces. Wipe the areas thoroughly with paper towels. Never wash wet materials down your household drain. They will cure inside your pipes and cause severe plumbing blockages.
A: Only specific, highly regulated formulas are considered food-contact safe. Furthermore, they only achieve this safety rating after completing a 100% full chemical cure. Always check the manufacturer's technical certifications and FDA-compliant labels before using any product for cutting boards or serving trays.


